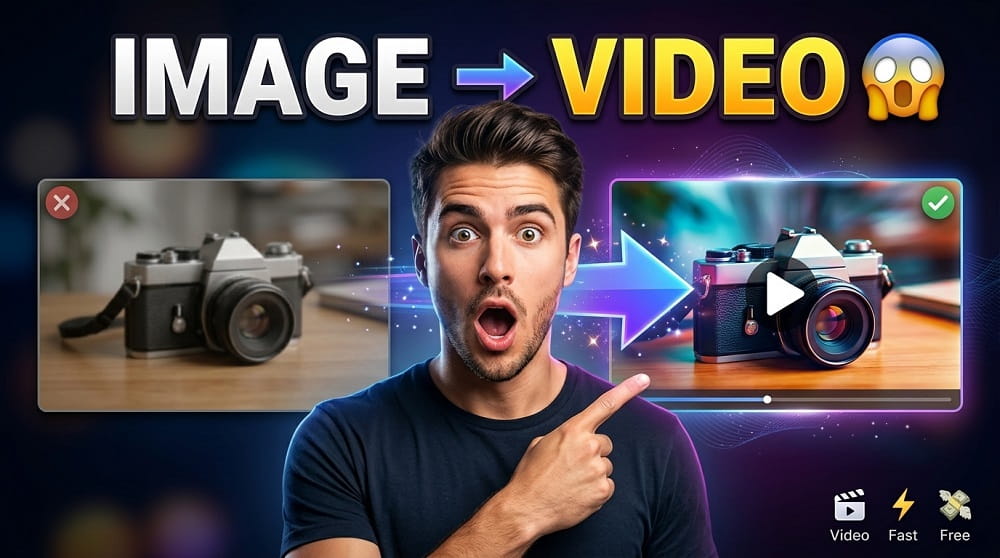
Creating videos used to take hours of editing, expensive software, and a lot of patience. But today, things have changed a LOT. With the rise of AI video generator tools, anyone can now turn a simple image into a short, high-quality video in just a few seconds.
And the best part? You do not need to sign up for any account. You do not need to pay for a subscription. And most importantly, you will NOT get an annoying watermark on your final video.
Sounds too good to be true? It is not. Let me show you exactly how this works.
Why Do People Want Videos Without Watermark and Without Sign Up?
This is a very common question. Why does it matter if there is a watermark or if you have to sign up?
Think about it. When you create a video for your brand, social media page, or YouTube channel, the last thing you want is another company’s logo sitting in the corner of your content. It looks unprofessional and takes away from the quality of your work.
And signing up? Most people do not want to give away their email address just to try out a tool. They want to test it first, and maybe use it freely without any commitment. That is completely understandable.
The good news is, there are several FREE AI VIDEO GENERATOR tools available right now that allow you to do exactly this. No account needed. No watermark. Just clean, ready-to-use videos.
How Does AI Turn Images Into Videos?
Before we get into the steps, it helps to understand what is actually happening behind the scenes.
AI video generators use advanced machine learning models to analyze your input image and then generate motion frames around it. The AI looks at the visual elements like lighting, objects, background, and textures, and it creates a SHORT video clip that looks natural and smooth.
Some tools animate the entire image. Others focus on specific parts like moving water, swaying trees, or facial expressions. The result is a SHORT VIDEO CLIP, usually between 3 to 10 seconds, that can be used directly or edited further.
Step-by-Step Guide to Creating AI Videos From Images
Step 1: Choose the Right Tool
Not every AI video tool is the same. Some require sign-up, some add watermarks, and some are just too slow or low quality to be useful. So the first step is picking the right one.
You can find a full list of tested and working tools on this page: All AI Video Generators. These tools are sorted and verified so you do not have to waste time testing bad ones.
Step 2: Prepare Your Image
The quality of your input image matters a lot. Here are a few things to keep in mind before uploading:
- Use a HIGH RESOLUTION image whenever possible (at least 720p or higher)
- Avoid blurry or pixelated images as the AI struggles to work with them
- Choose images with clear subjects and good lighting
- PNG and JPG formats work best with most tools
- Avoid images with too much text or complex overlays
Step 3: Upload Your Image and Set Parameters
Once you open your chosen tool, the process is usually very simple. Most tools follow this basic flow:
- Click on the UPLOAD button or drag your image into the upload area
- Wait for the image to load on the platform
- Select the animation style or motion type (if the tool offers this)
- Choose the video length (usually 3, 5, or 8 seconds)
- Hit the GENERATE button and wait
The generation process usually takes anywhere from 10 seconds to 2 minutes depending on the tool and server load at that time.
Step 4: Preview and Download
After the video is generated, preview it to make sure it looks the way you want. If it does not look good, most tools let you regenerate with the same image or adjust the settings slightly.
Once you are satisfied, click the DOWNLOAD button. The video will save directly to your device with no watermark and no need to log in.
Best Use Cases for AI Image-to-Video
Now that you know how to do it, let us talk about where you can actually USE these videos. Here are some popular applications:
| Use Case | Platform | Video Length Recommended |
|---|---|---|
| Instagram Reels or Stories | 5 to 8 seconds | |
| TikTok Content | TikTok | 5 to 10 seconds |
| YouTube Shorts | YouTube | 8 to 15 seconds |
| Product Promotion | Website or Email | 5 to 8 seconds |
| Digital Art Animation | Portfolio or Social | 3 to 5 seconds |
| News or Blog Thumbnails | Website | 3 to 5 seconds |
Tips to Get Better Results From AI Video Generators
These tools are powerful but they still need a little guidance from your side to produce the best output. Here are a few tips that actually works:
- USE IMAGES WITH NATURAL SCENES like landscapes, oceans, or forests. These animate extremely well because the AI can easily add motion like wind, waves, or clouds.
- Portrait images with faces can produce impressive results but make sure the face is clearly visible and well-lit.
- If the first result does not impress you, try again. AI outputs can vary slightly with each run even with the same image.
- Avoid uploading images that contain copyrighted logos or trademarks unless you own them.
- Some tools let you add a text prompt along with the image. Use this feature to guide the motion, for example, “gentle wind blowing through trees” or “water rippling in sunlight”.
What About AI Image Generators? Can They Help Too?
Yes, absolutely. If you do not have a good image to start with, you can create one using an AI image generator first, and then feed that image into a video generator.
This combination is actually very powerful. You describe the scene you want in text, the image generator creates it, and then the video generator brings it to life with motion.
You can explore a wide range of free AI image creation tools on this page: All AI Image Generators. Many of them also do not require sign-up and produce high-quality images that work great as video inputs.
Common Mistakes to Avoid
People often make small mistakes that leads to bad results. Here is what to avoid:
- USING LOW QUALITY IMAGES – The AI can not fix a blurry photo. Start with a sharp image always.
- Expecting cinematic quality from free tools – These tools are great for short clips, but they are not Hollywood studios. Keep your expectations realistic.
- Not previewing before downloading – Always watch the generated video before downloading. Sometimes the animation goes in a weird direction.
- Skipping the prompt field – If the tool has a text prompt box along with image upload, use it. It improves the output significantly.
- Using the wrong aspect ratio – Make sure your image matches the output format you want. A square image may not look great in a 16:9 video format.
Are These Tools Really Free? What Is the Catch?
This is a fair question and one that a lot of people ask before they trust a tool.
Most of these tools are free with certain daily limits. For example, a tool might allow you 5 to 10 free video generations per day. After that, you would need to wait until the next day or upgrade to a paid plan.
But for most casual users, 5 to 10 videos per day is more than enough. Especially if you are using it for social media content or personal projects.
The NO WATERMARK AND NO SIGN-UP feature is usually offered during the free tier to attract users. Some tools may add watermarks on longer videos but keep shorter clips clean. Always check the tool’s terms or test with a quick generation first.
Final Thoughts
Creating SHORT AI VIDEOS from images is now something anyone can do. You do not need design skills. You do not need expensive software. And you definitely do not need to create an account just to try something out.
The tools available today are incredibly capable, and when you pair them with good quality images, the results can be genuinely impressive. Whether you are creating content for social media, adding life to your blog, or just experimenting with creative ideas, these tools are worth using.
The key is finding the right tool for your specific need. Spend a few minutes going through the list of AI Video Generators available, test the ones that catch your eye, and see what works best for you.
AI is not replacing creativity. It is just making it a lot more ACCESSIBLE to everyone.