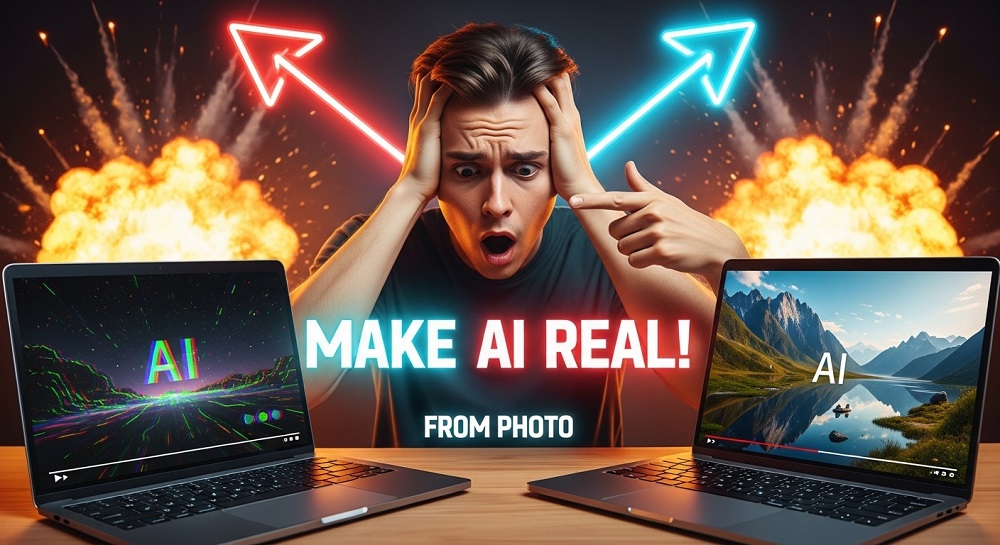
So you tried to animate a photo using an AI video tool and the result looked… off. The face melted. The background shook weirdly. The person blinked three times in half a second. Sound familiar?
You are not alone. This is one of the most common problems people face when using AI VIDEO GENERATORS for the first time. The good news is, it is fixable. And most of the time, the problem is not the tool. It is the way the photo is prepared and the way the prompts are written.
In this guide, we will walk through everything step by step so your AI videos come out looking natural, smooth, and actually usable.
Why Do AI Videos From Photos Look Strange?
Before fixing the problem, it helps to understand what causes it. AI video models work by predicting how pixels should move between frames. When the input photo is unclear, cluttered, or has bad lighting, the model has to “guess” too much. And those guesses often go wrong.
Here are the main reasons your output might look weird:
- The photo has low resolution or heavy compression artifacts
- The subject is too close to the edge of the frame
- The background is very busy or has patterns that confuse the model
- The lighting is uneven or creates strong shadows on the face
- Your motion prompt is too vague or too extreme
- You are using a tool that is not suited for portrait or photo animation
Once you know the cause, the solution becomes clear.
Step 1: Start With the Right Photo
This is the most important step. A good input photo will save you so much time and frustration. What does a good photo look like for AI video generation?
| What to Look For | Good Example | Bad Example |
|---|---|---|
| Resolution | At least 1024×1024 pixels | Blurry, pixelated, or heavily compressed JPEG |
| Subject Position | Centered with clear space around | Cut off at edges or too zoomed in |
| Background | Plain, solid, or softly blurred | Busy crowds, strong patterns, cluttered rooms |
| Lighting | Even, soft, natural light on the face | Harsh shadows, backlit, fluorescent streaks |
| Expression | Neutral or mild expression | Wide open mouth, extreme expressions |
If your original photo does not meet these standards, do not skip to the next step yet. You can use an AI IMAGE GENERATOR or an image upscaler to clean it up first. Tools like those listed on VeoAI’s AI Image Generators page can help you create or refine a clean base image before you animate it.
Step 2: Crop and Frame Properly
How you crop the photo matters a lot. The AI needs to understand what it is animating. If the subject takes up only 20% of the frame and the rest is background noise, the model will animate the noise along with the person, and it will look messy.
A good rule: the subject should take up at least 50 to 70 percent of the frame. For portrait-style animations, a head and shoulders crop works really well. For full body animations, make sure there is breathing room around the edges.
Quick Tip: Use a 1:1 or 16:9 aspect ratio depending on where you plan to use the video. Most AI video tools perform better when the input image matches the output aspect ratio.
Step 3: Write a Motion Prompt That is Specific But Gentle
This is where most people go wrong. They either write nothing at all, or they write something like “make the person dance wildly.” Both of these approaches cause problems.
If you write nothing, the AI makes random guesses about what should move. If you ask for too much movement, the face and body distort because the model cannot maintain consistency across that many frames.
The sweet spot is SPECIFIC, SUBTLE MOTION. Here are some examples of good vs bad prompts:
| Prompt Type | Example | Result |
|---|---|---|
| Too vague | “Make this move” | Random, glitchy motion |
| Too extreme | “Person dancing with fast head turns” | Face distortion, melting artifacts |
| Just right | “Gentle head turn to the right, soft smile, slight wind in hair” | Natural, smooth, believable |
| Just right | “Camera slowly zooming in, subject looking slightly downward” | Cinematic, stable output |
Notice how the good prompts describe CAMERA MOVEMENT or very small subject movements. This gives the model enough instruction without overwhelming it.
Step 4: Choose the Right AI Video Tool for the Job
Not every AI video generator handles photo animation the same way. Some are built for text-to-video. Some are optimized for image-to-video. And within that category, some handle portraits better while others are good at landscapes or product shots.
What should you look for in a tool?
- It should support IMAGE-TO-VIDEO (not just text-to-video)
- It should have a motion strength or intensity setting
- It should let you write a custom motion prompt
- It should support high resolution output (720p or above)
You can explore a full list of tested options on the AI Video Generators page at VeoAI. The page covers many tools side by side so you can pick based on your specific need.
Step 5: Use the Motion Strength Setting Carefully
Most good AI video tools give you a slider or a setting for motion strength. It usually goes from 0 to 1, or from 1 to 10. A lot of people think higher is better. It is not.
For photo-based animation where you want the result to look real, keep motion strength somewhere in the LOW TO MEDIUM RANGE. A setting of 0.3 to 0.5 (on a 0 to 1 scale) is usually ideal for portrait animations.
If the output still looks shaky or inconsistent at low motion, the problem is likely in the input photo, not the motion setting.
Important: When motion strength is set too high on a face, the AI tends to invent features that were not in the original photo. Teeth appear from nowhere. Eyes change shape. The jawline shifts. Keeping motion low prevents this.
Step 6: Generate Multiple Variations and Pick the Best One
Even with perfect settings, AI generation has some randomness to it. A single generation might look slightly off while the very next one looks great. This is normal.
Always generate at least 3 to 5 variations of the same prompt and photo before deciding the tool is not working. You will usually find one or two that look noticeably better than the others.
What to compare between variations:
- Does the face stay consistent throughout the video?
- Are the edges of the subject clean or do they blur into the background?
- Does the motion feel smooth or does it stutter?
- Is the background stable and not flickering?
Pick the variation that passes the most of these checks. Even one or two small issues can be corrected with a quick edit in a video tool afterward.
Step 7: Do a Quick Post-Edit if Needed
Sometimes the AI gets 90% of the way there and one small moment looks a bit off. You do not need to redo the whole thing. A simple video editor can fix a lot:
- Trim the beginning or end if the startup frames look glitchy
- Add a subtle fade in/out to hide any rough transitions
- Apply a slight sharpen filter if the output looks soft
- Add background music or ambient sound to distract from minor visual imperfections
A short 3 to 5 second clip with good framing and subtle audio will almost always look more professional than a longer, messier video.
Common Mistakes and How to Avoid Them
| Mistake | Why It Happens | Fix |
|---|---|---|
| Face melts or distorts | Motion strength too high | Lower motion strength below 0.5 |
| Background flickers wildly | Busy or patterned background | Use a photo with a plain background |
| Weird artifacts around hair | Low resolution or JPEG compression | Upscale the photo before generating |
| Person moves but looks like a puppet | Vague motion prompt | Be specific: describe camera and body movement separately |
| Output is only 2 to 3 seconds | Tool limitation or low motion | Try a tool that supports longer output duration |
What About Generating the Photo Itself With AI?
If you do not have a good photo to start with, you can create one. This is actually one of the cleanest workflows for AI video production. You generate a perfect base image using an AI IMAGE TOOL, then animate it using an AI video generator.
Because the image was AI-generated, it already has clean edges, good lighting, and a simple background. These are exactly the conditions that produce the best video output.
You can check out a full list of image generation tools on VeoAI’s AI Image Generators directory to find one that matches your style. Then take that image directly into any of the AI video tools listed on VeoAI to animate it.
This two-step approach gives you far more control over the final result and reduces the guesswork for the video model.
Final Thoughts
Making a natural-looking AI video from a photo is not about luck. It is about giving the model what it needs: a CLEAN IMAGE, a CLEAR PROMPT, and the right motion settings. When those three things line up, the output is surprisingly good.
Start with image quality, be specific with your motion prompt, keep the motion strength low, and generate a few variations before giving up. Most of the time, the tool is capable. It just needs better input.
If you are still looking for the right tool to get started, explore the options at veoaifree.com/all-ai-video-generators and find one that fits your project.